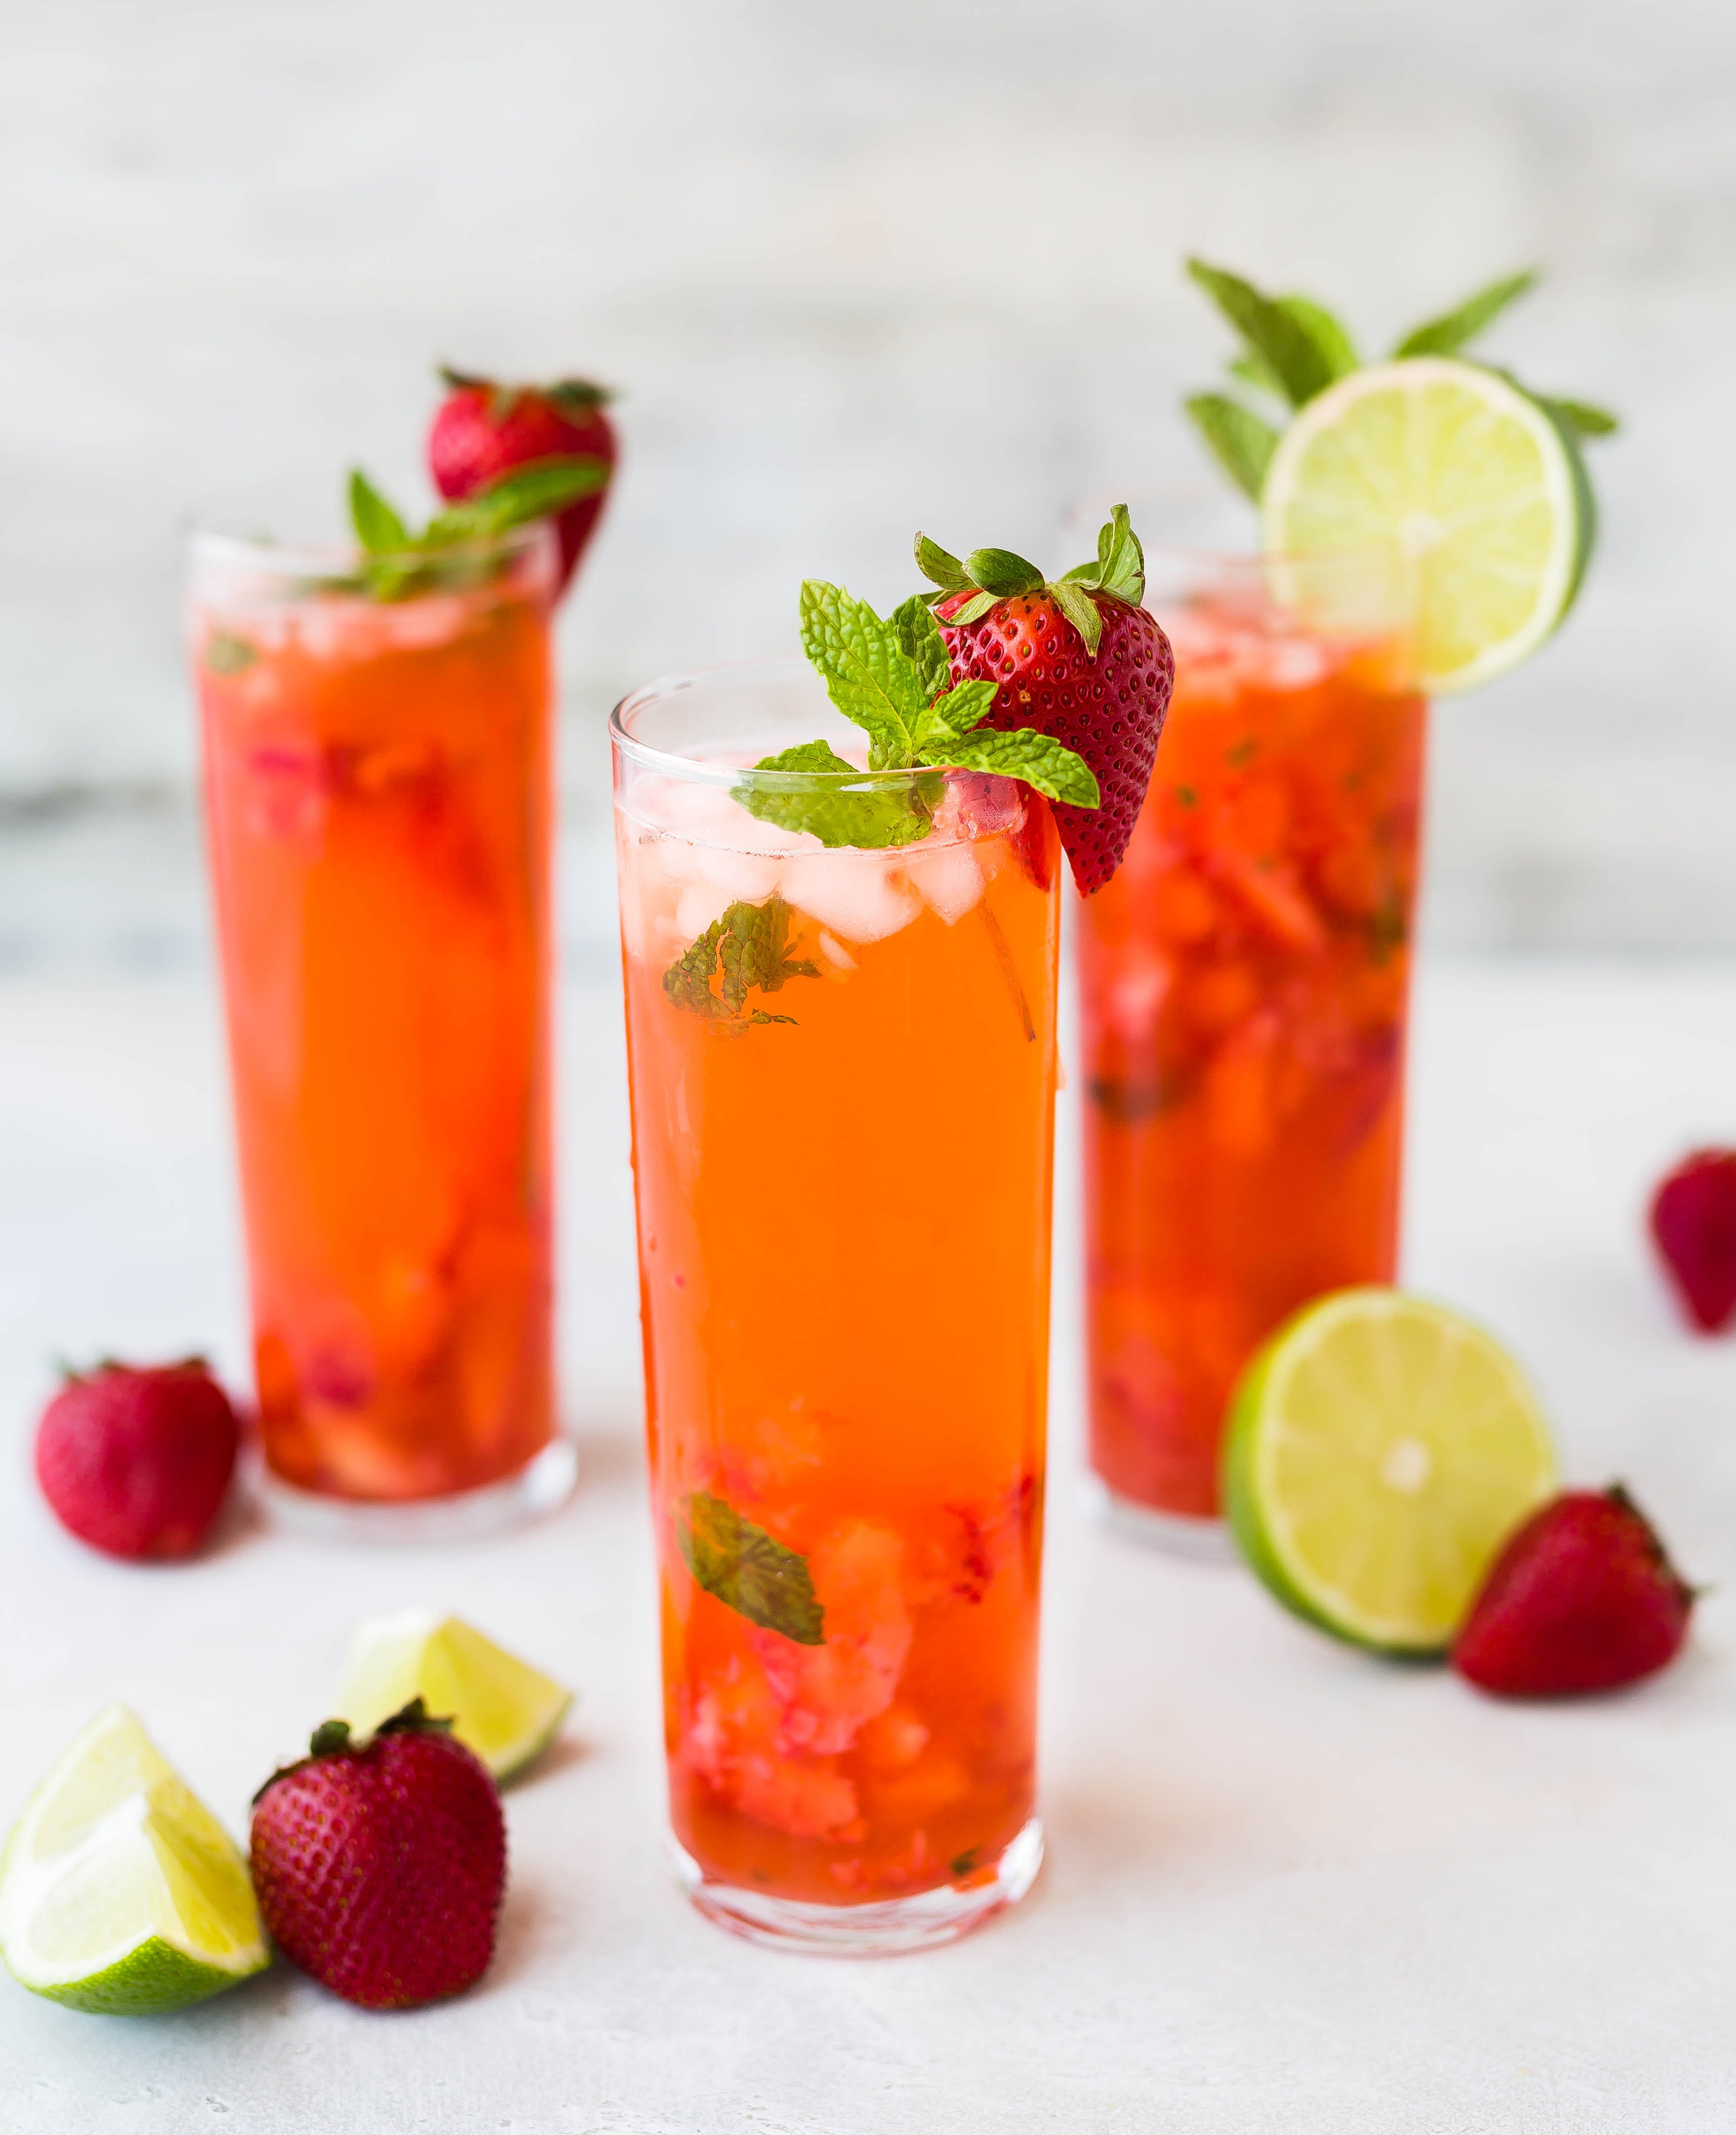
Today is a holiday in Canada so while I had to work this morning, I’m taking the afternoon off to sit outside, read, and drink a tasty beverage. I’m thinking Sangria-ish, a new drink I’m perfecting with whatever I happen to have in the fridge, like half a bottle of Alsatian red, frozen lime cubes, haskap juice, lemonade, cherries, and sparkling water:)
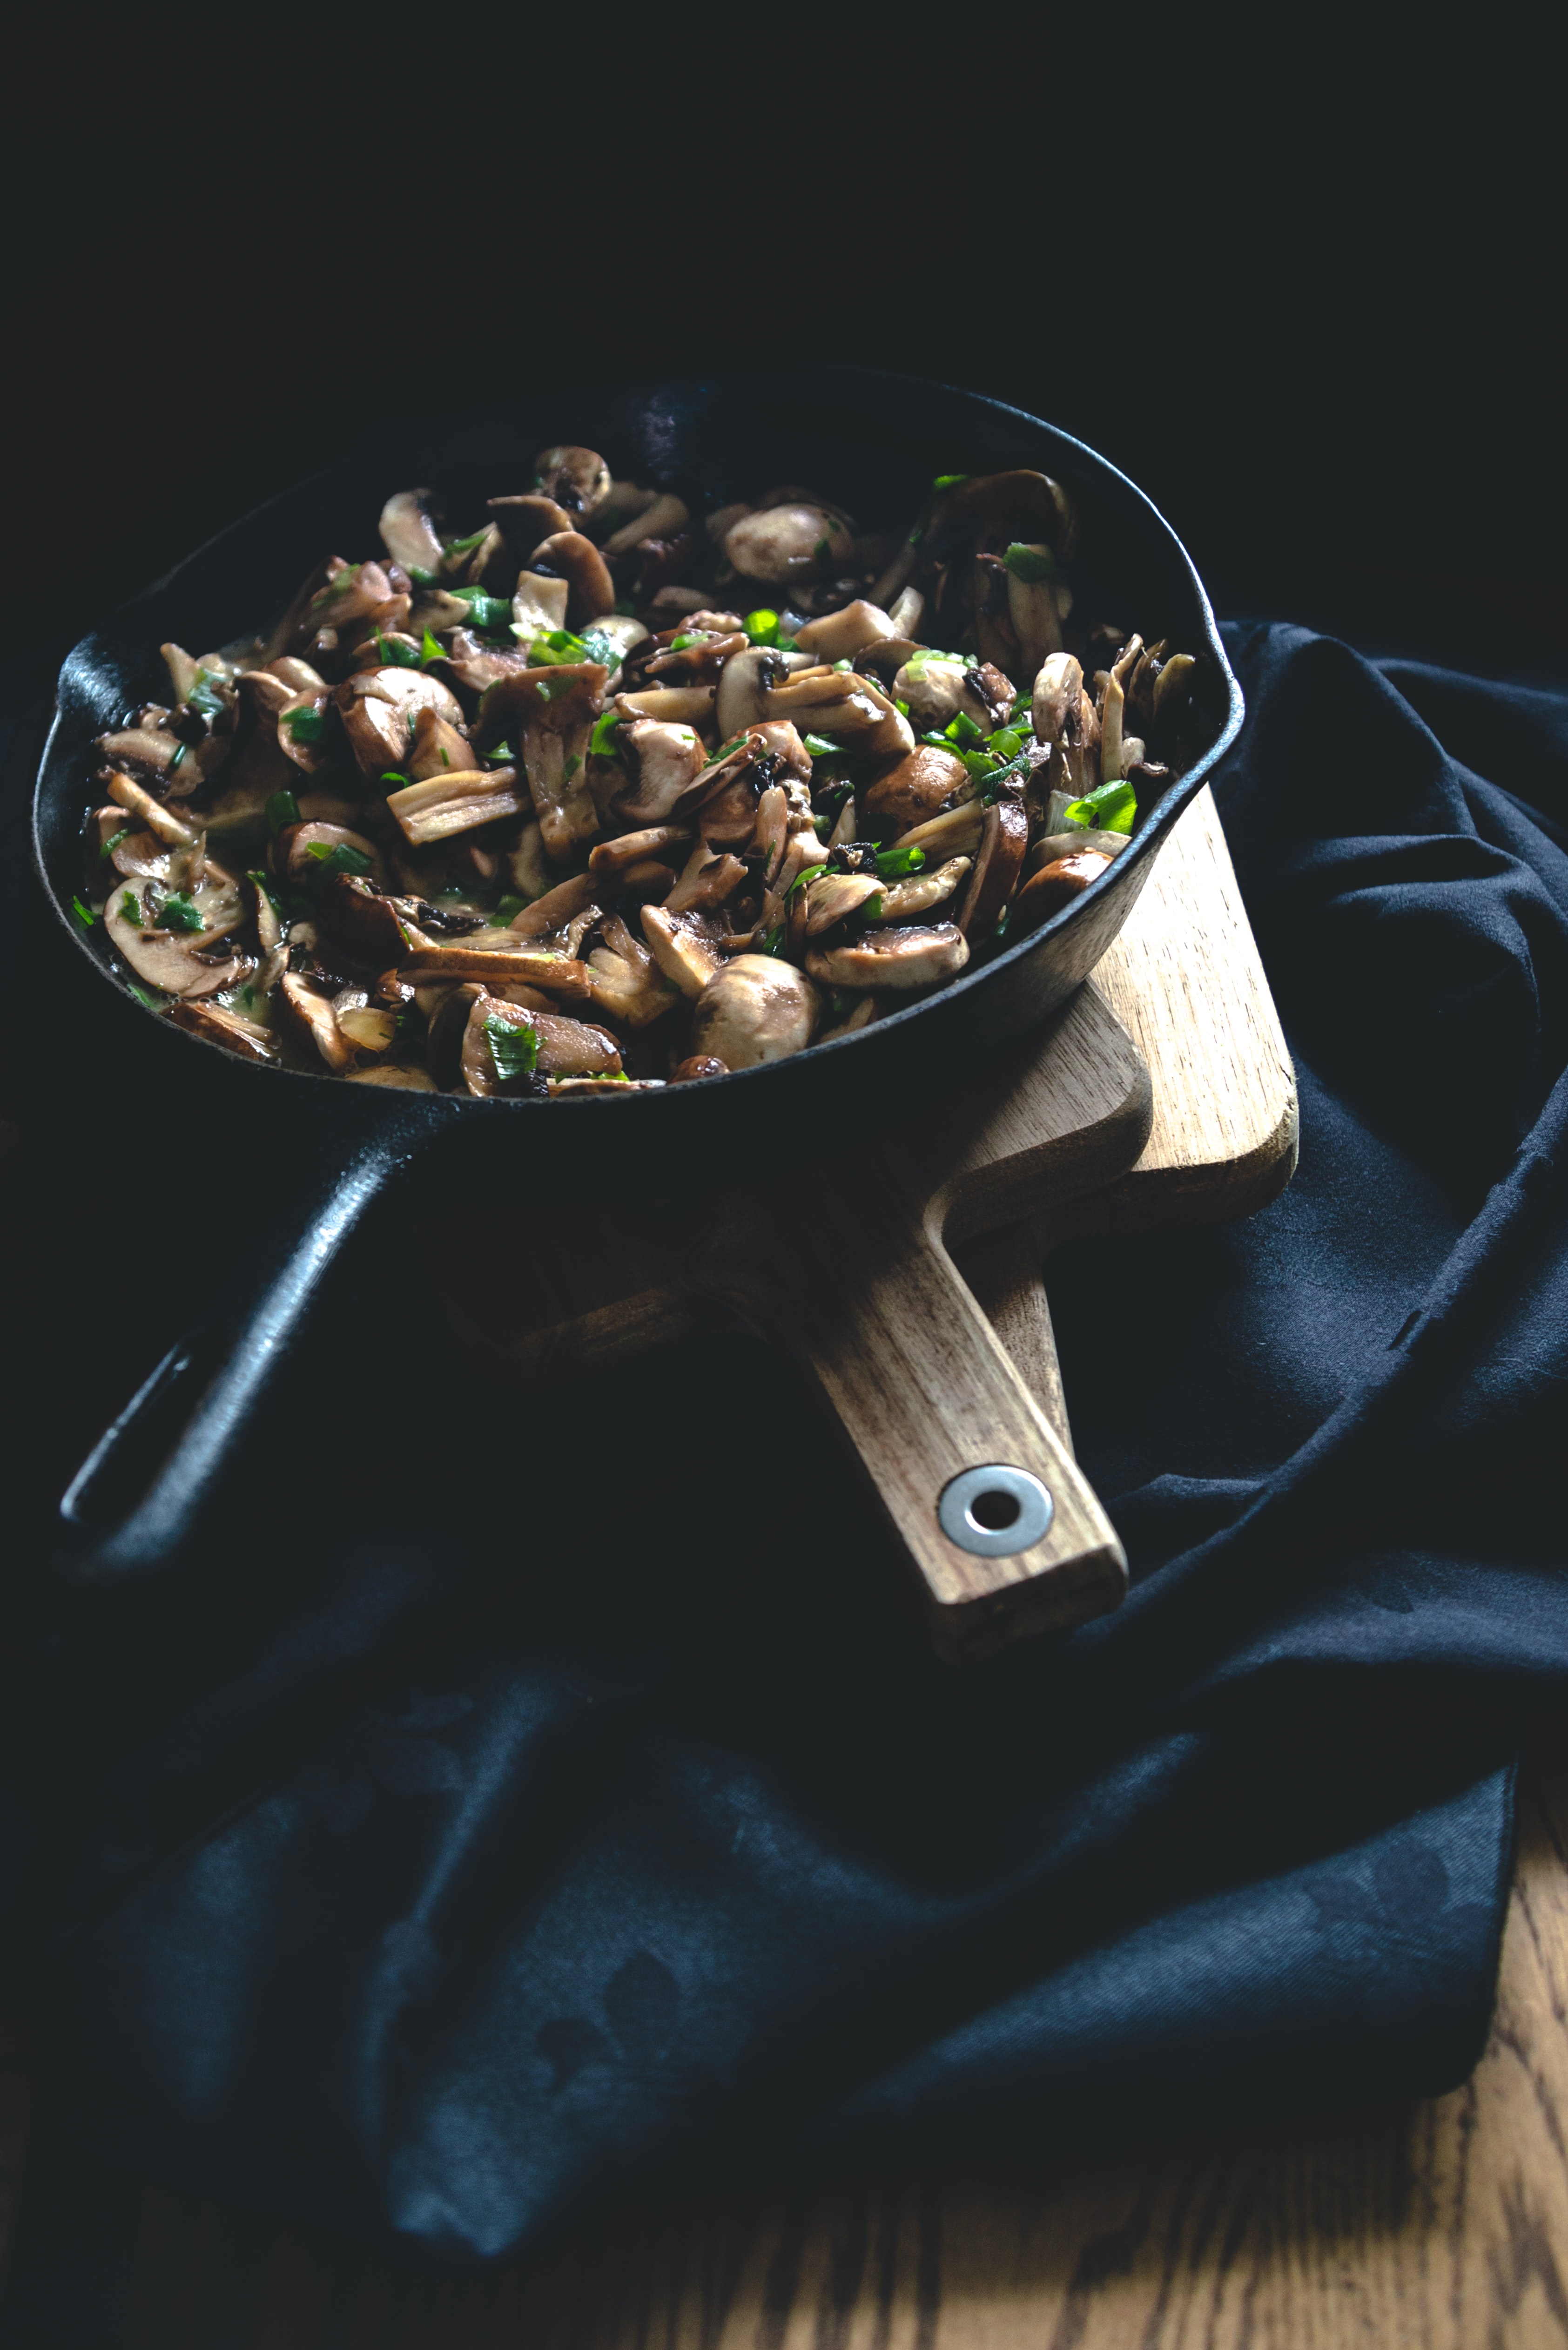
Today, my plan is to make bread, prep and roast a batch of mushrooms (oyster, shiitake, cafe), make black currant jam, and a batch of smoothies. I might also test out the KitchenAid ice cream attachment we borrowed from friends yesterday, free my tomatoes from the dastardly clutches of the cucamelon vine, and make strawberry Pop Tarts hand pies.
Or I’ll get distracted by a good book, a cozy Sunday, and the Olympics.
If you’ve ever wondered what Jane Austen ate, or if the menus in her books were true to life, this is the link for you. Here’s the book the article highlights.
And if you’ve ever thought about what life was like on the other side of the scullery door, check out Longbourn by Jo Baker.
In this irresistibly imagined belowstairs answer to Pride and Prejudice, the servants take center stage. Sarah, the orphaned housemaid, spends her days scrubbing the laundry, polishing the floors, and emptying the chamber pots for the Bennet household. But there is just as much romance, heartbreak, and intrigue downstairs at Longbourn as there is upstairs.
I found the world below-stairs fascinating, and not just because I’m the sort of person who likes to learn about practical and medicinal plant properties, or what chilblains felt like.
It’s good to give every person a chance to be the main character, you know?
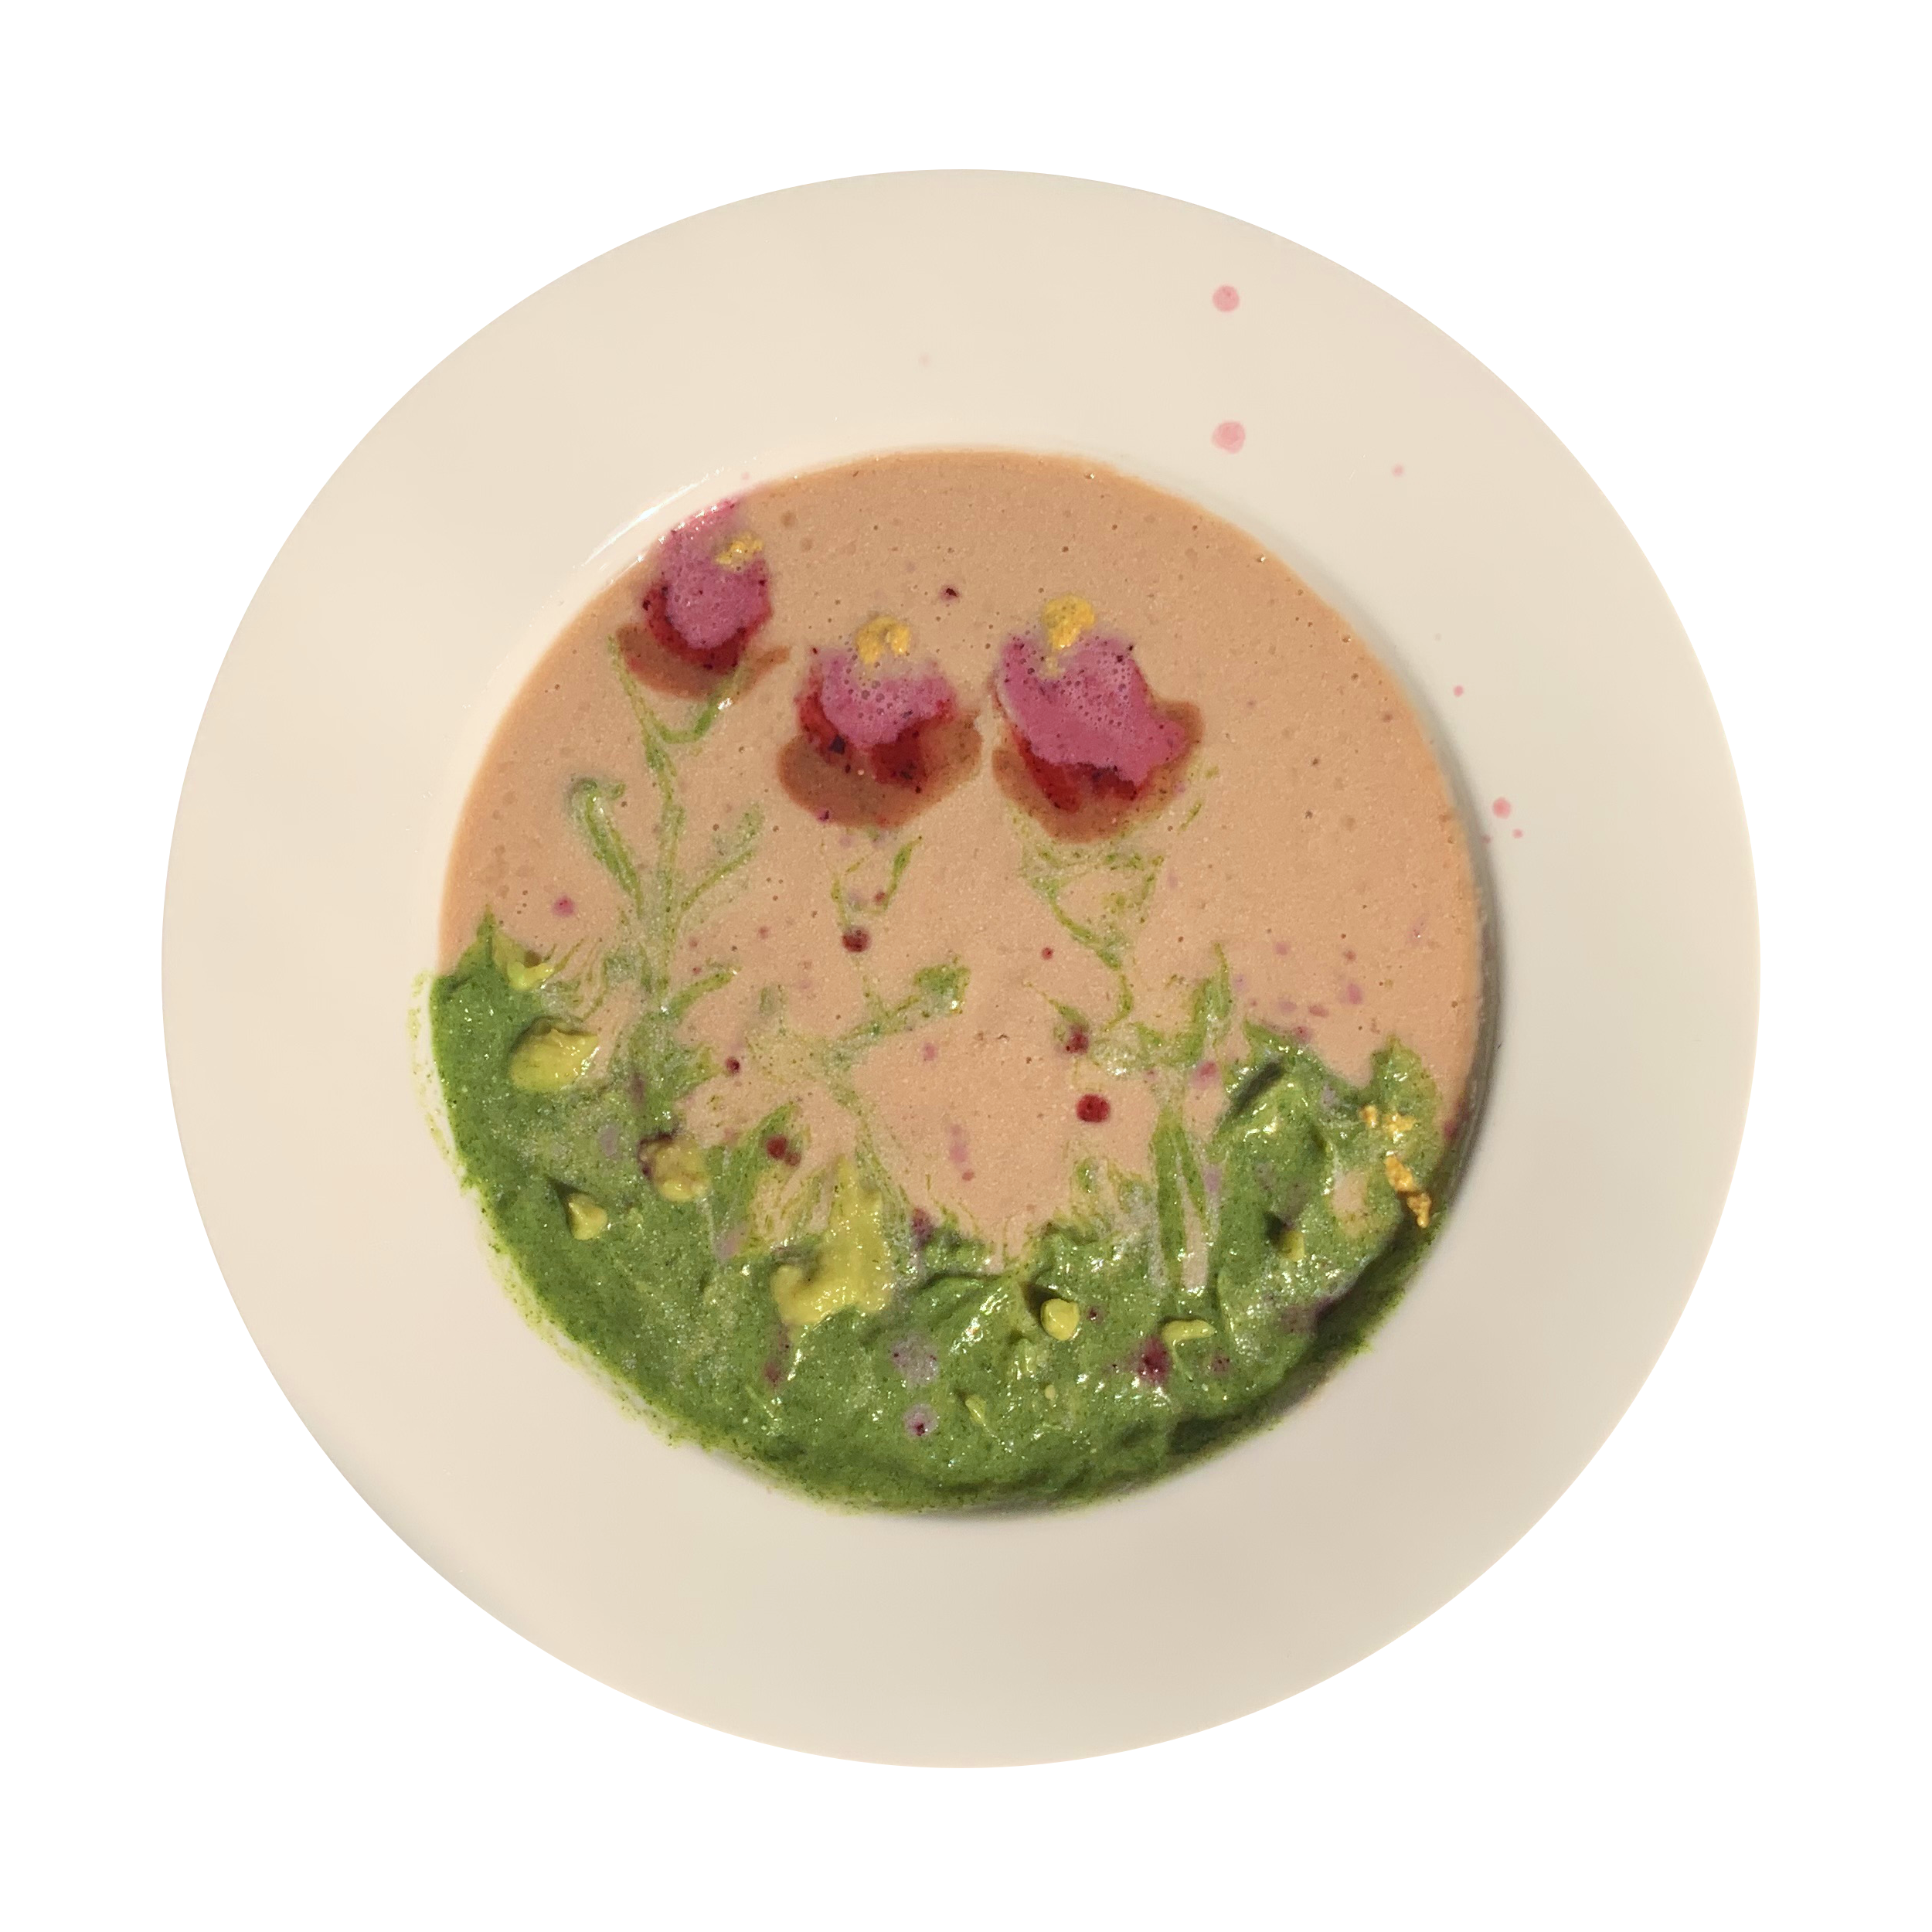
As I’ve mentioned, I sometimes see the world a little sideways. It helps me find the fun in functional and the butterfly in the weeds. It also means that some days, a perfectly normal breakfast can turn into something a little more elaborate.
I mean, there I was this morning, producing multiple batches of colored liquid: bananas and tofu, spinach and avocado and green tea, blueberries and strawberries and cranberry juice, hemp seed and turmeric and more. It’s paint by any other name. And so, smoothie art.
* Editor’s Note: Welcome to Lunchtime Clickbait, where we test oddly specific headlines establishing implausibly sweeping claims for oddly specific life strategies.
* * *
Sure, it’s only been two days, but I can unequivocally say that smoked oysters have changed my life.
How do I know for sure that smoked oysters are the best thing since sliced bread? Well, three days ago I had ideas as usual, but little energy for action. Sure, I got my work done, but then, meh.
For the past two days we have had smoked oysters for dinner, and for the past two days I have had far more energy and verve than usual. I think the connection is obvious.
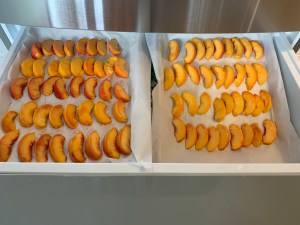
Yesterday? I did all of the things. Work, yes, but also house and writing and creative fun stuff. Also peaches.
Happily tucked away in the freezer, waiting to become sorbet.
Today I’ll do that and more, and I’m sure that it’s all because of the smoked oysters. What’s not to love?
Will smoked oysters work for you? Maybe, and unless you have a shellfish allergy, they can’t hurt.
* * *
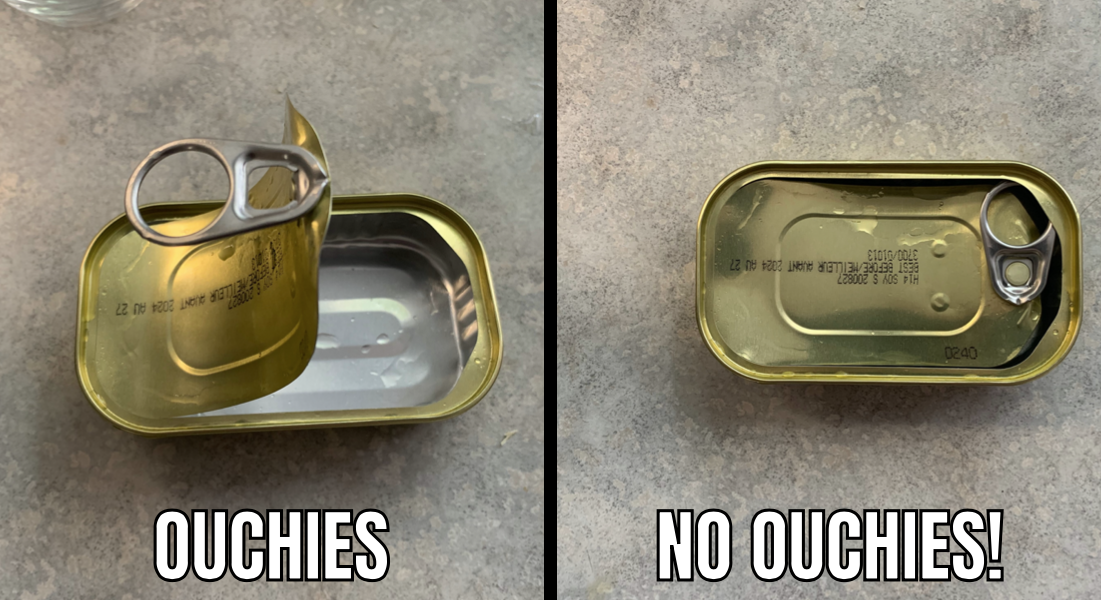
Now, do I wish they didn’t come in cans designed to slice my fingers when taking them to the recycling bin? I do, but I also have a solution.
I mean sure, you could still cut yourself if you tried hard enough. So maybe don’t?
And many of the readily available options are from halfway around the globe, but it would be great if increasing local popularity also encouraged more local production.
Still not convinced that smoked oysters are right for you? What else does a sweeping claim for dramatic outcomes based on one small lifestyle change need for maximum reputability?
A Top Ten List, of course!
* * *
Top Ten Reasons to Eat Smoked Oysters
10. They are great on salads, on pasta, in soups, on picnics, or straight from the can when you don’t have time for niceties like plates.
9. Canned, they are shelf stable to the Apocalypse and beyond.
8. Oysters purify water, are terrific for shoreline health, contribute to restorative aquaculture, and in a well-managed fishery are a great addition to a sustainable food system.
7. They remind me that the history of cities like New York is tied to the oyster.
6. Smoked oysters give an average day a bit of fancy dancy je ne sais quoi.
5. Oysters are rich in protein, good fats, iron, zinc, and copper. Eating them makes me feel practically electric!
4. Smoking takes away that weird sliminess of raw oysters that some people love but, well, I don’t. (Although maybe I haven’t tried enough of the good stuff, like those from High on the Hog‘s TheRealMotherShuckers.)
3. I still have warm fuzzy feelings from childhood, sitting in the living room recliner, reading, and eating after-school oyster stew.
2. Lord, I don’t know, isn’t this list done yet?
And finally, the number one reason to eat smoked oysters…
1. They are affordable, accessible, and Costco sells these babies in eight-can packs!
* * *
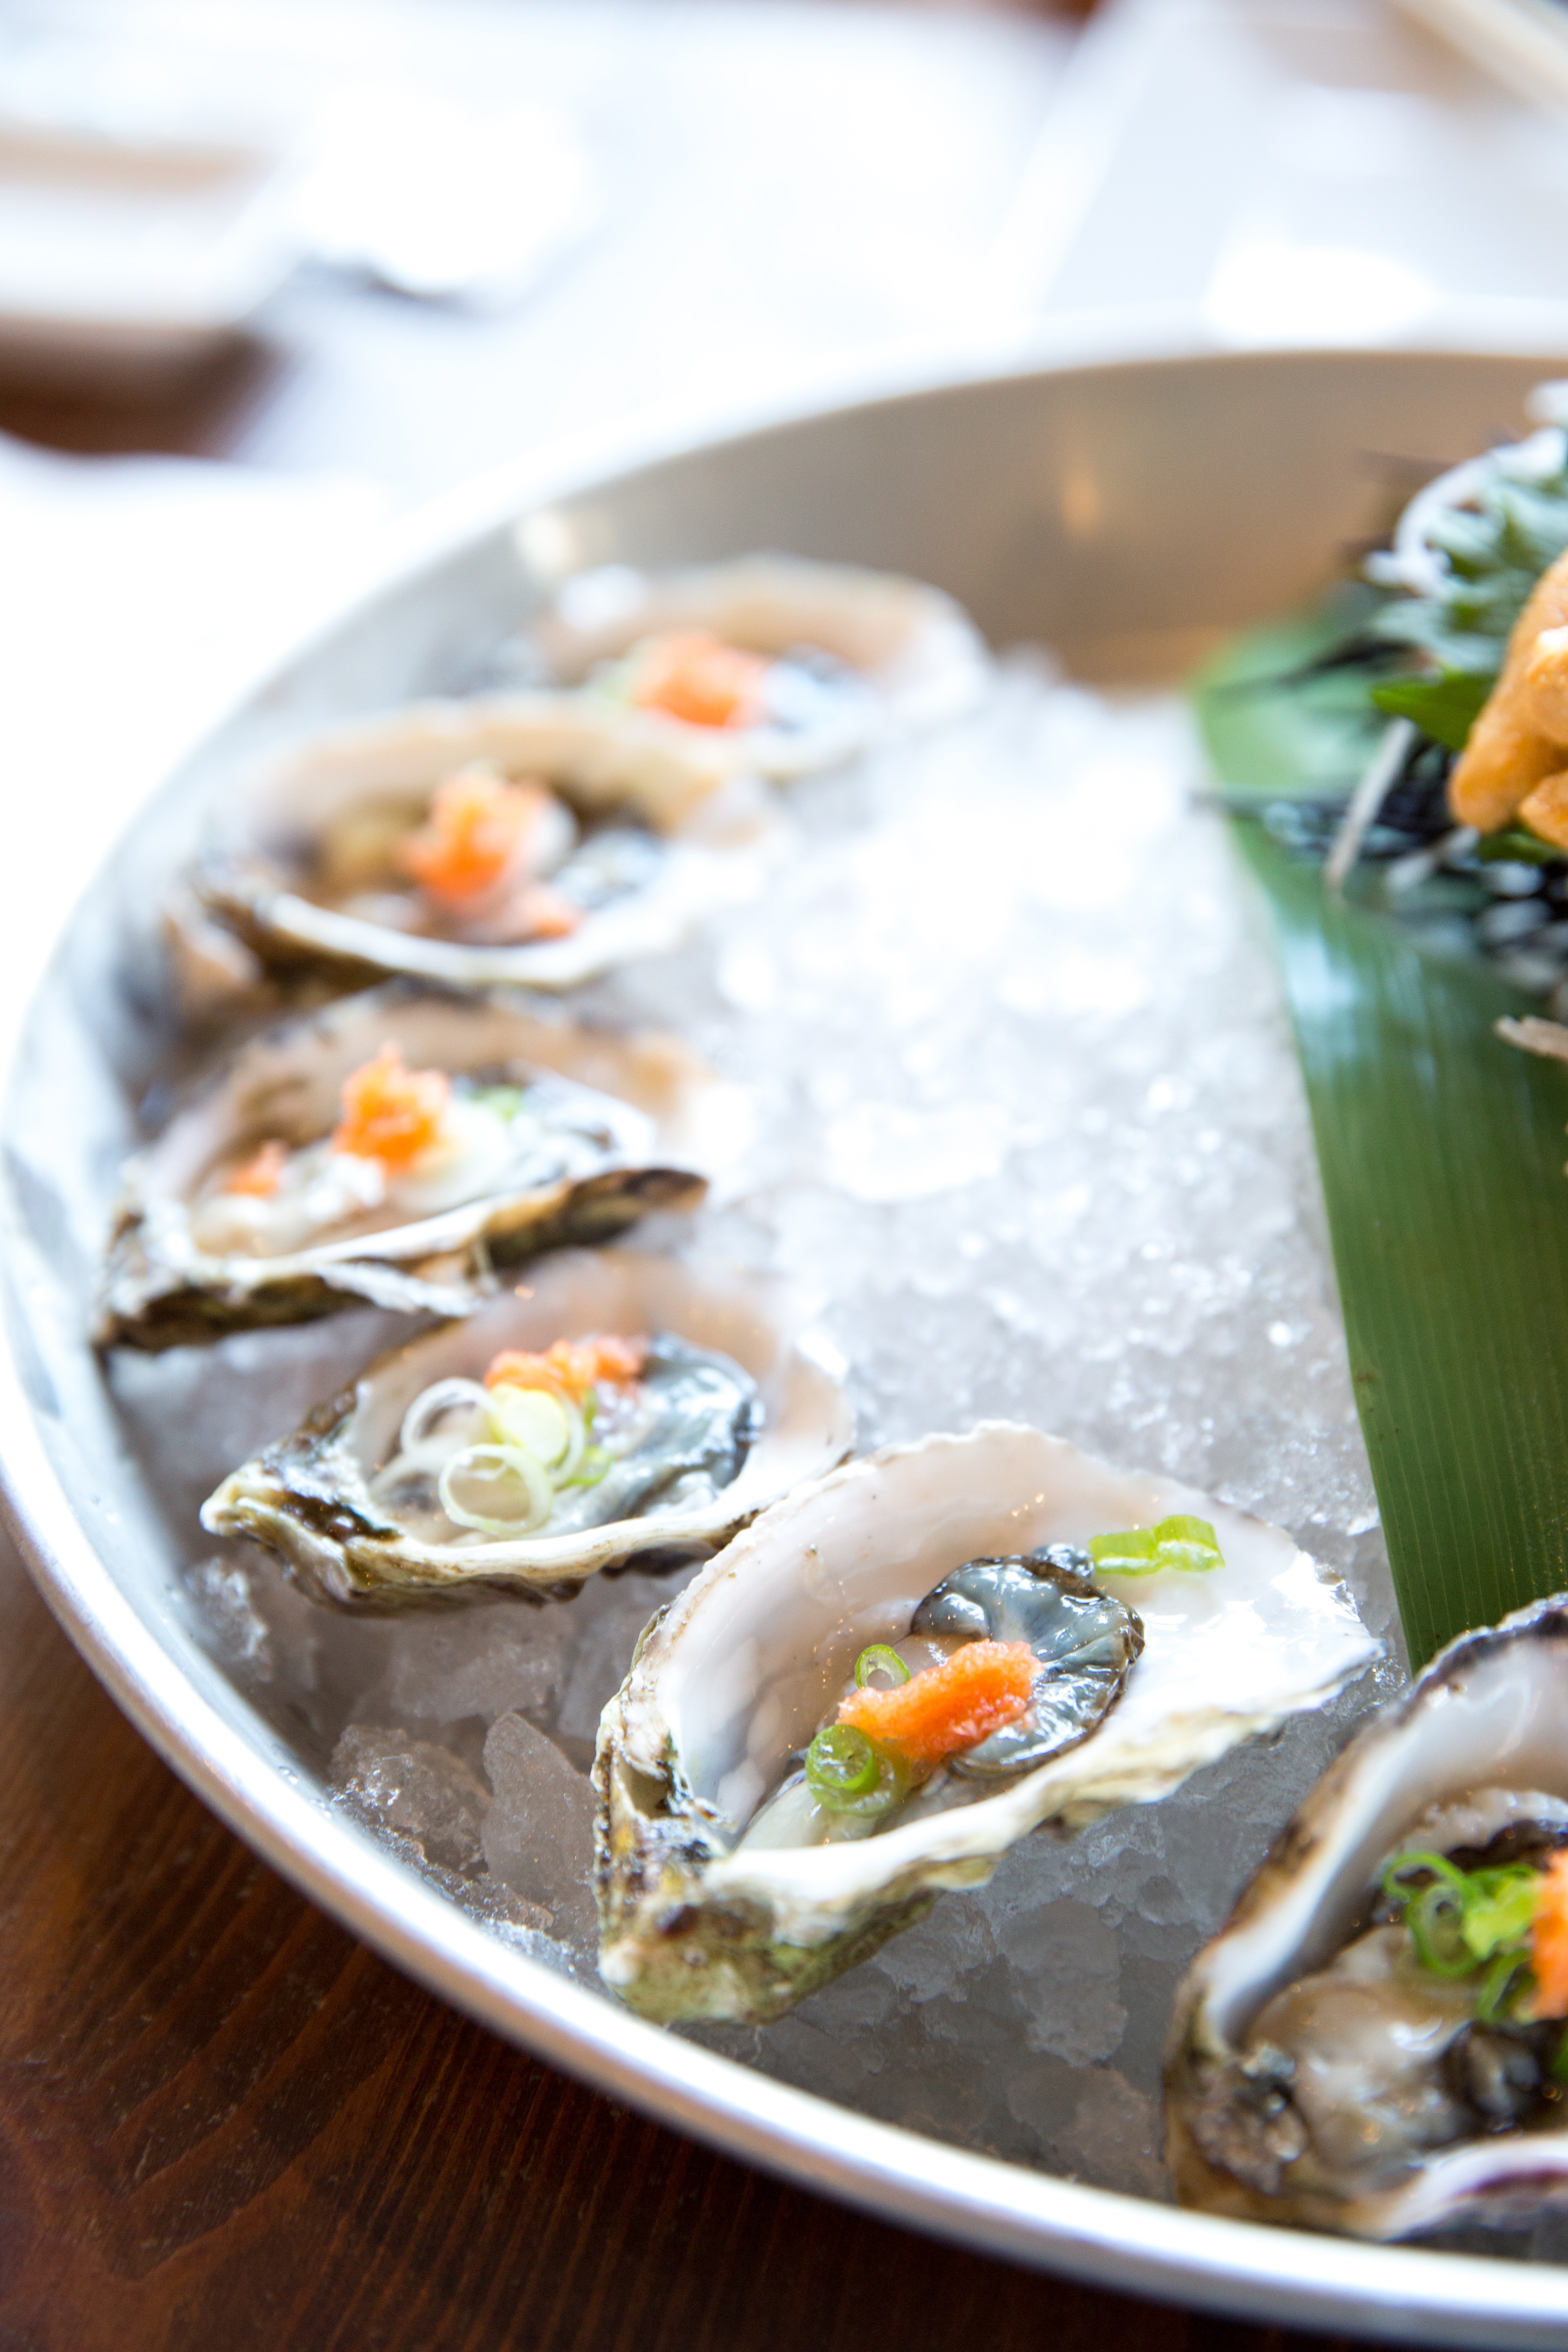
Yes, these oysters are the squishy kind, but the picture is pretty. Photo by Jason Leung on Unsplash
Reality? It’s Tuesday, the peaches are too soft for this, I think, and we’re already making scallion cakes tonight. Maybe next time.
Instead I’m going to try this Bittman sorbet recipe because it sounds delicious, but also because it means I can just slice everything up and freeze it until I’m good and ready.
Unless I come up with another idea between now and later. Like… grilled peaches with lime and maple syrup, peach pie, roasted peach halves with cinnamon crumble on top, stewed peaches with cinnamon, lemon and cardamom, peach salsa, savory peach-lime chutney, or…?
Today is Fridge Day. As previously mentioned, Mr Man and I were unlucky enough to need a new fridge, but ! fortunate in that we were able to find a replacement that would arrive before Fall.* The replacement is being delivered sometime in the next couple of hours, so we’re getting ready.
Step 1: empty the old fridge
Step 2: marvel at the ancient relics to be found therein!
yes, that fish label says 2012!
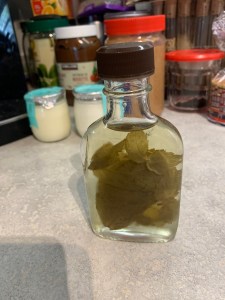
The old fridge has a very deep deli drawer and things could, and did, obviously, get lost in there. Like these Riviera yogurts from 2016 that somehow (incredibly!) still look 100% edible five years later. How?! (Magic, that’s how.) Or the mint vodka I made lo those many years ago (that’s code for I have no idea how old it is).
It’s true that best before dates are food quality guidelines, rather than “you will absolutely, positively die if you eat this even one minute after this date” warnings, but even so, I’ll skip the decade-old fish.
Everything that can be composted/recycled was. The dining room is full of coolers and insulated bags. Drawers were emptied, shelves cleared, and sacrifices to the Appliance Gods were made in the usual fashion.
* I’m not kidding about this timeline, as you will know if you have had to purchase a new appliance lately. Supply chain issues from computer chips to shipping bottlenecks are rampant these days, but it will all get sorted out… eventually.
More history, today. And photography. This is my grandmother on the Swedish-ish side. She was ten or twelve* at the time, and much more agile than when I knew her.
This is also me experimenting with photo restoration techniques.
My Twelve-Year Old Grandma
Grandma Dorothea was sweet, literally and figuratively. She did many things well (gardening, bridge, surviving the Great Depression with her sense of humor intact, making grandchildren happy), but above all, she baked. I can still recall the flash of joy on seeing pound cake in her kitchen. Her chocolate mint squares are decadent, melt-in-your-mouth bites of chocolate cake, creamy mint, and dark chocolate glaze.
She wasn’t much of a cook, but (despite the very cryptic notes left on her 3″x5″ recipe cards) she was one hell of a baker.
* * *
Grandma’s Chocolate Mint Squares
Cake Layer
1 cup sugar
½ cup melted butter
1 tsp. vanilla
1 can chocolate syrup (16 oz)
4 eggs beaten
1 cup flour
½ tsp. salt
1. Mix and bake in 9”x13” greased and floured pan for 30-35 minutes at 350°F.
Mint Layer
2 cups powdered sugar
3 Tbs. Crème de Menthe
½ cup melted butter
2. Mix and spread on the cool cake. Chill briefly to set.
Glaze
6 oz. chocolate chips
6 Tbs. butter
3. Melt over low heat. Cool a bit and spread over mint layer.
4. Chill until chocolate sets and cut into small(ish) squares.
* * *
* Inquiring minds want to know: at what age does one stop being a whippersnapper?
Some of my food choices have not made the transition to adulthood. Lightbulb fried salami. My Kraft Mac & Cheese and ramen habit.* Fruit Loops when I could get them, which was once a year or less (it was a good rule, parental units, but don’t think I’m over it! 😉
But some have.
Consider the peanut butter and jelly sandwich.** Is it a perfect balance of densities, sweet and savory, carbs, protein and flavor? Crunchy or smooth, with your choice of fruit flavors. Spark it up with homemade bread if you’re into that sort of thing. And so easy to assemble!
* * *
* What? Alternate days, it was all perfectly reasonable.
** Am I posting this because it’s lunchtime, because I enjoy reminders of my often unconventional culinary childhood, or because I want to remind my mother that a PB&J is a terrific option for those days when lunch seems like a lot? Let’s go with all of the above.
The original recipe is very good, but we wanted something a little more traditional. I kept the dough method but modified the rest. I use a standard pizza pan (works very well), stretch the dough out to ~14” and increase the toppings by a factor of roughly two. This way isn’t as fluffy as the original recipe, but there’s more pizza:)
See the original recipe for instructions and helpful pictures. It’s easy but the crust takes a little upfront fiddly time, so I make four times the amount, split the dough after the initial rise, and freeze the extras.
This is our usual, Butter Chicken Pizza. As always, topping ingredients and amounts are flexible.
* * *
Ingredients
Quadruple Batch of Crust
960g All-Purpose Flour, King Arthur if you can get it
200g Butter Chicken or other sauce, tweaked with a little soy sauce and balsamic vinegar
200g cooked chicken, drained and shredded
wilted, chopped spinach and mushrooms or other veg, a handful or two
freshly grated Parmesan cheese (optional)
olive oil for the pan
Instructions
Crust:
Place the flour, salt, yeast, water, and olive oil in a large mixing bowl.
Stir everything together to make a shaggy, sticky mass of dough with no dry patches of flour. This should take 1-2 minutes by hand. Scrape down the sides of the bowl to gather the dough into a rough ball; cover the bowl.
After 5 minutes, uncover the bowl and reach your wet hand down between the side of the bowl and the dough, as though you were going to lift the dough out. Instead of lifting, stretch the bottom of the dough up and over its top. Repeat three more times, turning the bowl 90° each time.
Re-cover the bowl, and after 5 minutes do another fold. Wait 5 minutes and repeat; then another 5 minutes, and do a fourth and final fold. Cover the bowl and let the dough rest, undisturbed, for 40 minutes.
Split into four parts of ~425g each. Place into oiled containers (I use oiled takeout dishes.)
If using soon, refrigerate for a minimum of 12 hours, or up to 72 hours. It’ll rise slowly as it chills, developing flavor; this long rise will also add flexibility to your schedule. (A 72 hour rise will require a largish container.)
To save for longer, seal each container in a ziplock bag and freeze. The night before you want to use it, move one batch from the freezer to the fridge.
Assemble:
Crust: About 3 hours before you want to serve your pizza, prepare your pan. Pour 1 1/2 tablespoons (18g) olive oil onto pizza pan or cookie sheet. Spread the oil across the bottom.
Transfer the dough to the pan and turn it once to coat both sides with the oil. Press the dough to the edges of the pan, dimpling it using the tips of your fingers in the process. The dough may start to resist and shrink back; that’s OK, just cover it and let it rest for about 15 minutes, then repeat the dimpling/pressing. At this point the dough should reach the edges of the pan; if it doesn’t, give it one more 15-minute rest before dimpling/pressing a third and final time.
Cover the crust and let rise for ~2-2.5 hours at room temperature.
About 30 minutes before baking, place one rack toward the bottom of the oven and preheat to 450°F.
Toppings: once the dough is risen, sprinkle about three-quarters of the mozzarella over the entire crust. Spoon a spiral of sauce from the center outward, over the cheese. Laying the cheese down first will prevent the sauce from seeping into the crust and making it soggy. Sprinkle on the chicken, any veg, and remaining mozzarella.
Bake the pizza for 20-22 minutes, until the cheese is bubbling and the bottom and edges of the crust are a rich golden brown (use a spatula to check the bottom). More and/or moister toppings will take longer to cook.
Remove the pizza from the oven and slide the pizza onto a cutting board or other heatproof surface. Cut and remove extra slices to a cooling rack to avoid sogginess.
You must be logged in to post a comment.